
DIY Oil Change: What You Can Realistically Do at Home
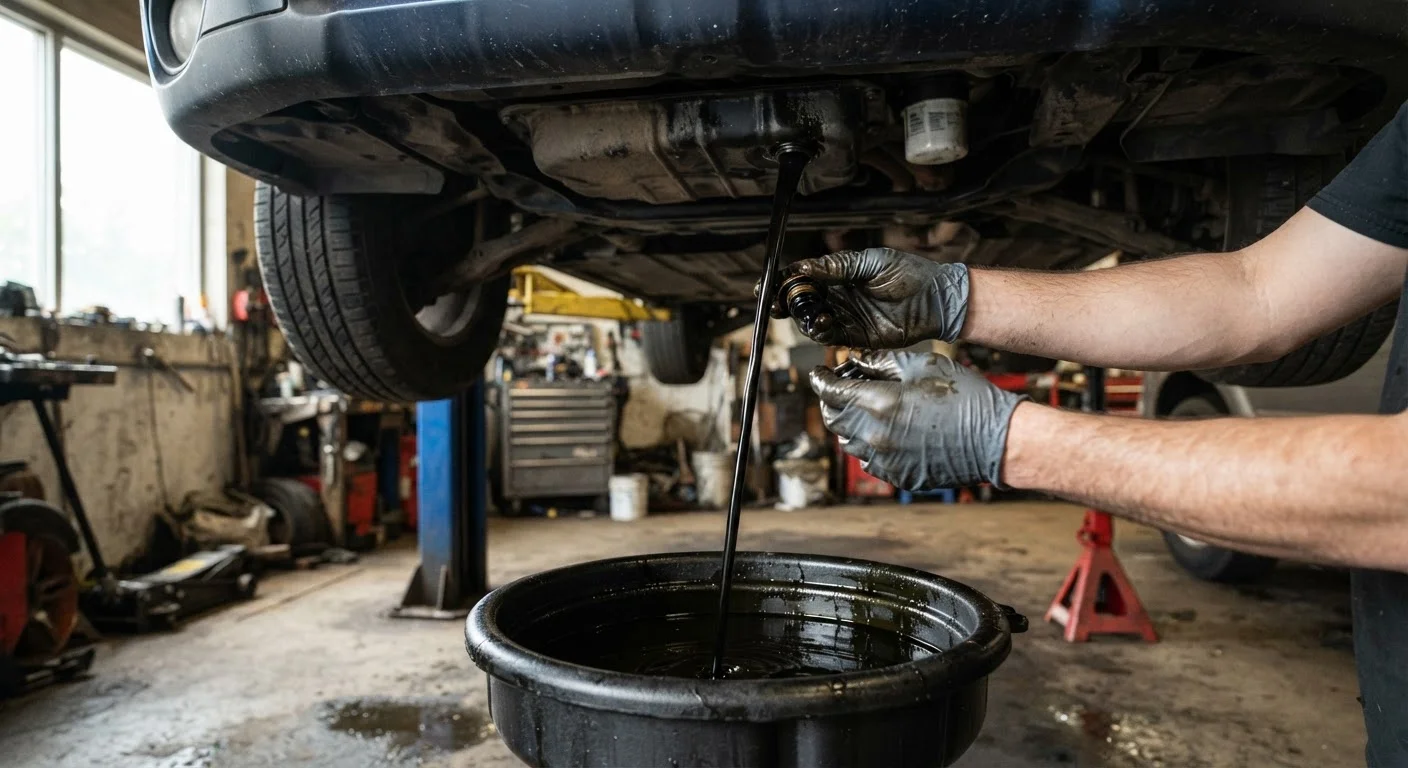
Photo credit: seeksmartgrowth.com
In this article
Thinking about changing your own oil? This step-by-step walkthrough covers the tools, safety precautions, and disposal steps involved.
Key Takeaways
- A DIY oil change typically costs less than a shop visit, but requires upfront tool purchases.
- Using the correct oil type and quantity for your specific vehicle is non-negotiable.
- Used motor oil must be recycled at a designated drop-off site, not poured down drains.
- Safety stands or ramps are required whenever you work beneath a raised vehicle.
- Some vehicles, including many newer models, have design factors that make DIY changes impractical.
Is a DIY oil change worth it?
Changing your own oil can cut per-service costs noticeably once you own the basic equipment. A set of ramps, a drain pan, a filter wrench, and a funnel are one-time purchases. After that, you pay only for oil and a filter, which together often run less than half the price of a quick-lube visit for the same materials.
The savings calculation depends on your vehicle. Consult your owner's manual or check a resource like your manufacturer's website to confirm the correct oil viscosity (for example, 5W-30), the quantity in quarts, and whether a standard or extended-life filter is specified. Getting these details wrong can cause engine wear, so the manual is the starting point, not an optional reference.
Not every vehicle is a good candidate for at-home work. Some newer models have filter housings in hard-to-reach locations, drain plugs with specialized fittings, or require dealer-level software resets for the oil-life monitoring system. If your vehicle falls into that category, a shop visit is the more practical path. See the car maintenance schedule guide for an overview of which services lend themselves to DIY and which typically require professional equipment.
What you will need
Safety before anything else
Working beneath a car on a standard floor jack alone is dangerous. A jack is for lifting, not for supporting a vehicle while you are under it. Use jack stands rated for your vehicle's weight, or drive onto purpose-built ramps on a flat, solid surface. Concrete is far more stable than asphalt or gravel, which can shift under load.
Wear safety glasses and nitrile gloves throughout the job. Hot oil causes burns, so if the engine has been running, wait at least 20 to 30 minutes before draining. Warm oil flows better than cold oil, but scalding oil from a fully heated engine can cause serious injury.
Never work under a car on a jack alone
A hydraulic floor jack can fail or shift, dropping the vehicle without warning. Always use properly rated jack stands or drive-up ramps as the primary support before placing any part of your body underneath the vehicle. Check that stands are seated on the correct lift points specified in your owner's manual, not on plastic body panels or exhaust components.
Step-by-step walkthrough
Follow these steps in order. If anything looks unfamiliar or does not match what your owner's manual describes for your specific vehicle, stop and consult a qualified mechanic before continuing.
Gather materials and confirm specifications
Before purchasing anything, locate your owner's manual and note the required oil viscosity (such as 5W-20 or 0W-40), total capacity in quarts, and the correct oil filter part number. Using the wrong oil grade or an incompatible filter can cause engine damage. Buy only what the manual specifies.
Position and secure the vehicle
Park on a flat, solid surface. Drive onto ramps or lift with a floor jack and place rated jack stands under the designated lift points shown in the owner's manual. Set the parking brake and place wheel chocks behind the rear tires. Never rely on a jack alone to support the vehicle while you are underneath it.
Drain the old oil
Locate the drain plug on the underside of the oil pan. Position your drain pan beneath it. Using the correct socket size, loosen the plug counterclockwise. Once it is nearly free, hold it in place with your fingers and pull it away quickly so the oil stream flows into the pan rather than onto your hand. Allow the oil to drain fully, which typically takes 5 to 10 minutes.
Remove and replace the oil filter
While the oil drains, use the filter wrench to loosen the old filter. Expect some residual oil to spill when the filter breaks loose, so keep the drain pan nearby. Before installing the new filter, apply a thin film of fresh oil to the rubber gasket on the new filter's rim. Hand-tighten the new filter until the gasket contacts the housing, then turn it an additional three-quarter turn. Do not use the wrench to tighten it.
Reinstall the drain plug and add new oil
Thread the drain plug back in by hand to avoid cross-threading, then tighten with a socket wrench. If you have a torque wrench, tighten to the specification listed in the owner's manual. Lower the vehicle from the ramps or stands. Open the oil fill cap on top of the engine, place a funnel in the opening, and pour in the specified quantity of new oil. Replace the fill cap firmly when finished.
Check for leaks and reset the oil life monitor
Start the engine and let it run for about a minute. Watch the oil pressure warning light: it should go off within a few seconds. Shut off the engine, then inspect underneath the vehicle and around the filter for any drips. Check the dipstick to confirm the oil level is within the normal range on the indicator. If your vehicle has an oil life monitoring system, consult the owner's manual for the reset procedure, which varies by make and model.
Disposing of used oil correctly
Pouring used motor oil down a drain, into a storm sewer, or onto soil is illegal in every U.S. state and causes significant environmental damage. A single quart of motor oil can contaminate a large volume of groundwater.
Most auto parts retailers and many municipal recycling centers accept used oil at no charge. Pour the drained oil into a sealable container, such as the empty oil bottles you just used, and drop it off at one of these locations. The same applies to the old filter: drain it into the pan for several hours, then place it in a sealed bag for proper disposal at the same drop-off site.
Drivers who maintain older or higher-mileage vehicles tend to change oil more frequently, which makes knowing these disposal options a recurring necessity. The high-mileage vehicle longevity tips article covers additional maintenance habits relevant to vehicles with significant miles on the odometer.

Author
Automobile Editorial Team
Automobile Editorial Team is the collective byline for our editorial team and contributor network. Articles published under this byline or an editorial pen name are researched, written, and reviewed according to our editorial standards for clarity, consistency, and independence before publication.
View all articles →