
Rearranging Furniture to Transform a Room Without Spending Anything
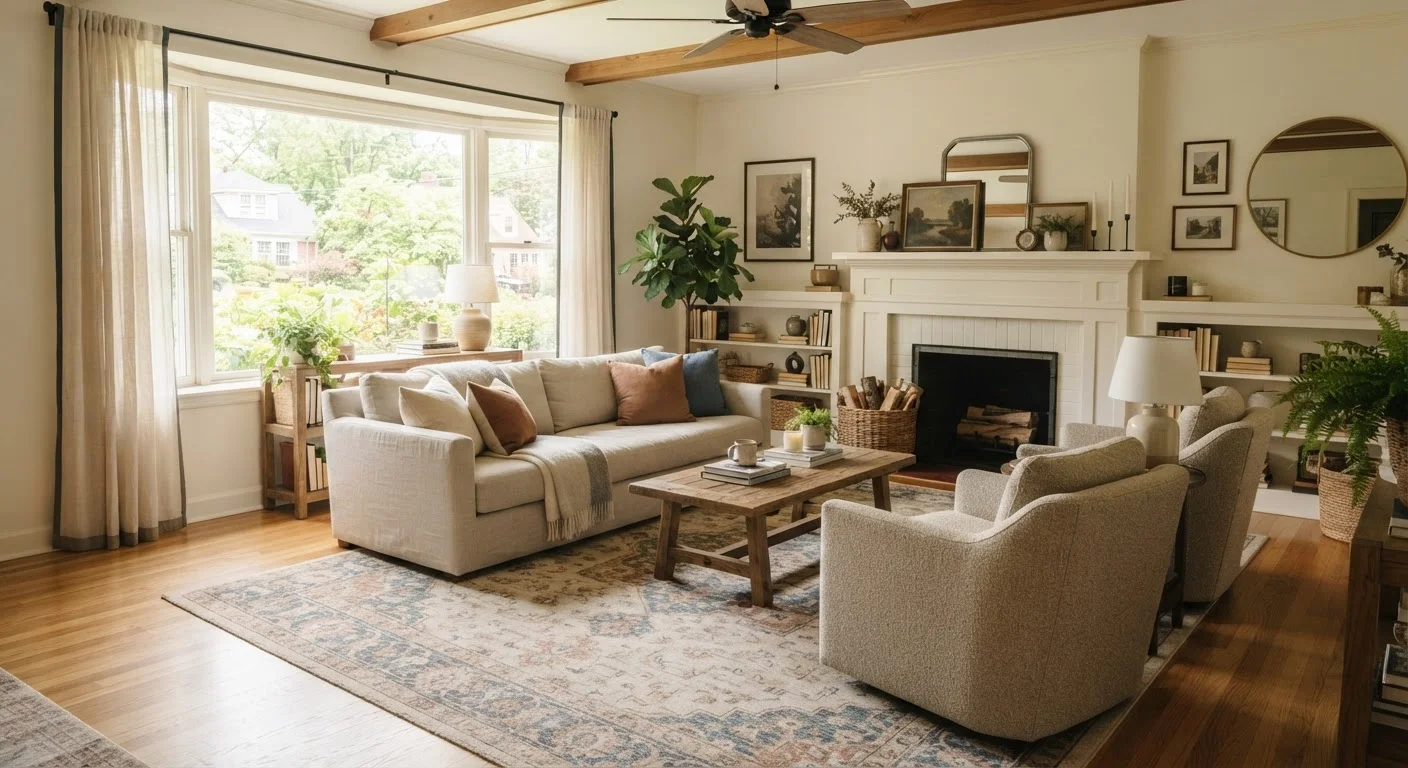
Photo credit: seeksmartgrowth.com
In this article
A step-by-step approach to relaying your existing furniture for better flow, proportion, and everyday comfort.
Key Takeaways
- Measuring your room and furniture before moving anything saves time and protects your back.
- A clear focal point gives every furniture arrangement a logical starting place.
- Floating furniture away from walls often makes a room feel larger, not smaller.
- Traffic flow through a room should be 30 to 36 inches wide at every passage point.
- A paper or digital floor plan lets you test layouts without lifting a single piece.
Why rearranging works when nothing else does
Most families live with furniture positioned exactly where movers set it on move-in day. That default arrangement is chosen for speed, not livability. Over time, awkward traffic patterns, poor conversation distances, and wasted corners become invisible because they feel normal. Moving things costs nothing and can produce a genuinely different room.
Proportion and flow matter more than any individual piece of furniture. A sofa pushed flat against a wall can make the center of the room feel hollow, while pulling it forward even 18 inches can define a seating zone and make the whole space feel intentional. The common layout errors that shrink a room visually are often fixable the same afternoon without buying anything. For a wider decorating plan that uses the same no-cost thinking room by room, see the room-by-room decorating guide.
What you need before you start
Gather a tape measure, pencil, graph paper or a free floor-plan app, and a helper for heavy pieces. Write down the dimensions of the room and each major piece of furniture before touching anything.
What you will need
Tape measure
Measure room dimensions and each furniture piece so your floor plan reflects reality.
Graph paper or floor-plan app
Draw scaled layouts to test arrangements before physically moving anything.
Moving sliders or furniture pads
Slide heavy pieces across hard floors or carpet without scratching surfaces or straining your back.
Painter's tape
Mark proposed furniture footprints on the floor to visualize placement before committing.
Step-by-step: rearranging your room
Follow these steps in order. Skipping the planning phase is the single most common reason a rearrangement fails and has to be undone the same day.
Measure the room and every major piece of furniture
Measure the length and width of the room. Note the location of every door, window, electrical outlet, and vent on your sketch. Then measure each sofa, chair, table, and storage piece. Width, depth, and height all matter. Record everything before moving on.
Identify the room's focal point
Every room has a natural focal point: a fireplace, a large window, a TV wall, or an architectural feature. If the room has none, create one by grouping artwork or positioning a bookcase. Your primary seating should face or angle toward this point. It gives the eye somewhere to land and the arrangement a clear reason for being where it is.
Draft a scaled floor plan
On graph paper, let each square equal one foot. Draw the room outline, mark doors and windows, then cut out paper rectangles to represent each furniture piece at the same scale. Move the cutouts around the page. Test at least three different arrangements before settling on one. A digital floor-plan app does the same thing on a phone screen if you prefer.
Plan traffic paths before moving furniture
Mark the paths people use to enter, exit, and move through the room. Each path needs at least 30 inches of clear width; 36 inches is more comfortable in high-traffic areas. If your draft layout blocks a path, adjust it now rather than after the furniture is in place.
Move the largest pieces first
Start with the sofa or the largest storage unit. Position it according to your floor plan. Use furniture sliders under each leg if the piece is heavy. Once the anchor piece is in place, add secondary seating, then tables, then smaller items. Working from largest to smallest prevents you from having to move small pieces repeatedly as you adjust the larger ones.
Evaluate the arrangement before declaring it finished
Sit in each seat. Walk every traffic path. Stand at the room entrance and look at the overall composition. Check that no furniture back faces a main entry point without good reason, that the rug (if present) anchors the seating group, and that the room has no large dead zones where nothing happens. Adjust any piece that does not work in practice, even if it looked right on paper.
Principles that make any layout work
A few spatial rules apply across nearly every room type. Conversation distance between seats works best between 6 and 10 feet; any farther and people raise their voices, any closer and the arrangement feels crowded. Rugs anchor a seating group when the front legs of every seat rest on the rug, even if the back legs do not. Asymmetrical arrangements can look intentional when the visual weight on each side of the room is roughly balanced, even if the pieces themselves differ in size or shape.
Light sources also interact with furniture placement. Positioning a reading chair near a window or a floor lamp prevents the arrangement from creating dark, unusable pockets. If you later want to add low-cost texture to a finished layout, the practical guide to using houseplants as decor covers what actually works in real homes without heavy care demands. For families interested in mixing in secondhand finds once the layout is set, thrift store items that translate well into polished rooms is worth reading next.

Author
Home Decor Editorial Team
Home Decor Editorial Team is the collective byline for our editorial team and contributor network. Articles published under this byline or an editorial pen name are researched, written, and reviewed according to our editorial standards for clarity, consistency, and independence before publication.
View all articles →